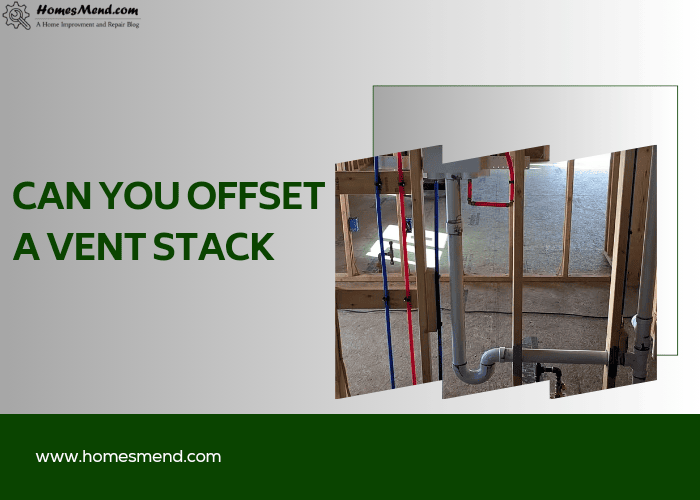
A vent stack is a venting pipe. For appropriate ventilation and air pressure maintenance in the drainage line, a vent stack is installed. A vent stack lets gas and odour flow out from your sewage line through the roof or in the soil. If, for some reason, there is any disturbance in the ventilation and air pressure, sometimes offsetting of that vent stack is a must.
How can you offset a vent stack and what factor should keep in mind we will learn about it.
Table of Contents
Why Offset a Vent Stack?
Offsetting of the vent stack is needed if the path for the vent stack is not appropriate. Among other issue, architectural constraints, building layouts, and structural limitation is the most common.
Offsetting the vent stack allows it to pass the obstacles and provides air pressure maintenance and a free environment.
Here are a few points for why to offset a vent pipe
Building Structure
Some building does not have a straight path for the plumbing vent. Also, walls, floors and other structural components block the straight path for the vent stack.
Limited Space
Sometimes, space limitation is the cause for an offset of the vent stack. In limited space, offsetting the vent pipe is the best option. This will provide a more circuitous path for the vent stack and maintain proper ventilation.
Plumbing Fixtures
For sinks and toilets, it gets hard to find a straight ventilation path. So, offsetting the vent pipe is a proper decision.
4 Ways A Vent Stack Works
1. Preventing Trap pumps
U-shaped pipes called traps are used in plumbing. This keeps odor and sewage gas out of the building. Without appropriate venting, draining waters creates pumps and vacuums water out of the traps. This allows odor and sewage gas to enter the building.
2. Equalizing Pressure
Sometimes, pressure is created in the drainage line and can cause drainage problems. The vent stack creates a negative pressure that prevents drainage problem and balances air pressure.
3. Preventing Gurgling and Air Locks
Propper installation of the vent pipe facilitates ventilation. This helps air to pass in the pipeline and prevent gurgling.
4. Preventing Backups
Multiple pipeline fixtures can rise in the imbalanced drainage system. This could push wastewater up back through the pipe. The vent stack maintains the pressure, thus preventing the back up of sewage.
Considerations You Should Take Before Installing a Vent Stack
When offsetting a vent stack, there are a few important considerations
Code Compliance
You need to know about the local codes and regulations for offsetting vent stacks. Ensure that modifications or additions to a plumbing system must follow the principles and regulations.
Proper Slope
The vent stack should be sloped upward towards the main vent stack. This will allow air to flow through the roof freely.
Vent Stack Size
Without proper vent size, ventilation through the vent stack will not occur. The standard vent size
- A main pipe 3 to 4 inches runs straight up to the roof
- Secondary pipe 2 to 3 inches is the branch system
Materials
Choose durable and appropriate materials for the vent and for the offset of the vent stack. PVC, ABS, and Cast Iron can be a preferable option for vent stack.
Consult a Professional
It is better to consult a professional. They can easily and accurately install and offset a vent stack.
Simple Steps to Offset a Vent Stack
Offsetting a vent stack is a common and effective measure for proper ventilation in the drainage lines. If you wish to offset a vent pipe, there are a few components to be sure of.
Components For Offsetting a Vent Stack
- PVC or ABS pipes (Use pipes depending on the local code.)
- Appropriate pipe fittings (Elbows, wyes or tees)
- Pipe cutter or hacksaw
- Measuring tape
- Pipe primer and cement (for PVC)
- Pipe cleaner and cement (for ABS)
- Level
Now, let us head to the simple steps that you can follow to offset a vent stack.
Steps To Follow for Offsetting a Vent Stack
1. Planning the Offset
The first thing you need to do is to identify where to make the offset. You must consider the local building code also.
2. Measurement
You need to be very concerned about the measurement. Faulty measurement could result in improper offsetting, or offsetting may not be done. Measure the distance from the existing vent stack to the place you will need to offset.
3. Cut and Clean
After measuring and finding the proper spot for offsetting, cut the old vent stack in the marked position. Make sure the cut is clean and can be fit later.
4. Prepare the Pipes and Fittings
Prepare the new section of the vent pipe. Elbow, Wyes or Tees will be needed to offset the vent stack. Dry-fit the pieces together and make necessary adjustments.
5. Offset
Now, you can insert the newly sectioned pipe into the existing cut. This will result in an offset. Use a level for the new section to be plumped and straight.
6. Joining the Pipes
Depending on the pipe type, like PVC or ABS, you can use appropriate primer and cement to join the pipes. Ensure that the pipes are fitted perfectly.
7. Supports for The Vent Stack
You may need supporters for the vent pipe if multiple offsets are done in the vent stack. This will help the vent stack to prevent sagging or shifting over time. You can also use support brackets for this job.
8. Test the Offset
You can use a smoke test or water test for any leaks and ensure proper offset.
Conclusion
To ensure proper ventilation and odour-free, a home vent stack is installed in the building. Offsetting of the vent stack provides a new path for the air to come in and out.
Reference
For better knowledge about the offset of vent stack and types of offsetting, you can follow the videos below-
What is a vent stack?

